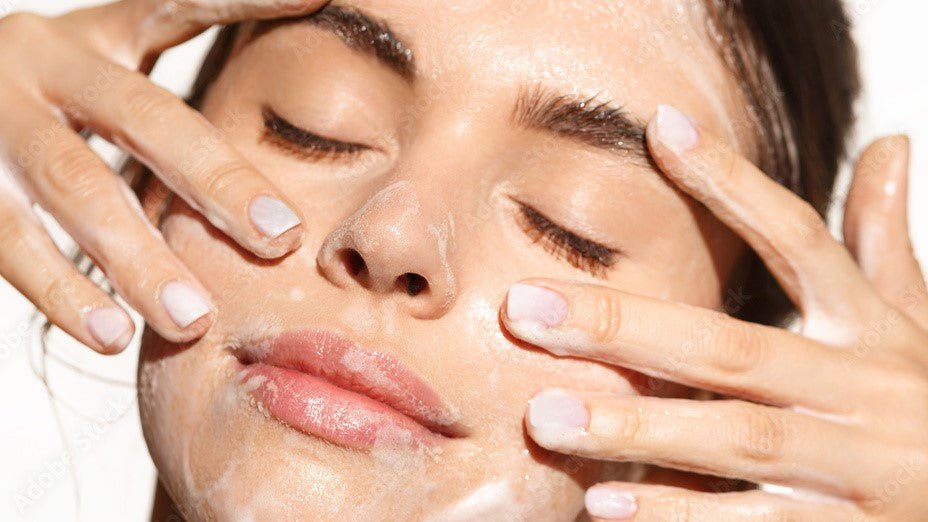
Wrinkles are caused by genetics, skin type, sun exposure, facial sagging from repeated expressions, collagen loss, loss of firmness and fat through ageing, and whilst we cannot completely irradicate a deep line or wrinkle, massage can lessen and improve its appearance.
The Benefits
Immediate benefits such as draining lymph fluid, (a fluid that flows through the lymphatic system of the body) removing toxins and natural built-up waste such as excessive water, proteins and salt; will erase puffiness and inflammation.
Increasing blood flow will give you a brighter more plump, youthful complexion and even skin tone, while releasing tension can reduce the appearance of forehead wrinkles caused by stress.
Improved oxygen flow and circulation will not only brighten but allow the skin to absorb products more effectively and speed up your internal processes of repair and renewal.

At home facial massage is easier than you think. Depending on your goals, facial massage is either best performed first thing in the morning, to reduce puffiness and inflammation, or last thing at night, to aid relaxation. Whilst the technique does not have to take up much time, as a beginner I would suggest setting aside 20 minutes to get used to the movements and how you feel most comfortable holding the tools.
Preparation;
1. Cleanse and tie your hair back
2. Moisturise
3. Use a hot cloth or steam to soften and open your pores, this will help your products to penetrate the skin.
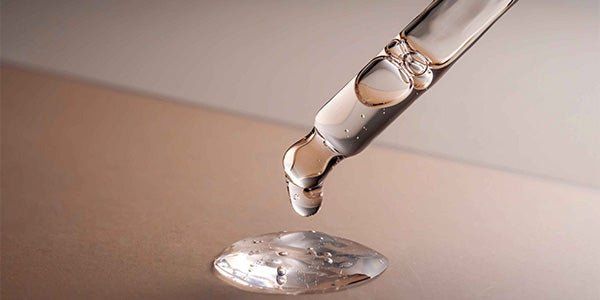
4. Choose a serum or oil to be worked into the skin, an oil will create more slip, but a multi-active serum such as Immediate Effect Serum or Eye Repair will not only lubricate, but penetrate the layers giving a wealth of anti-ageing benefits.
Think about your face in five main areas; forehead, eyes area, cheeks, mouth and chin & Neck and Décolletage and work those areas separately.
As mentioned before, you can use your fingers, a roller or a Gua Sha, it is down to personal choice. I like to use the Gua Sha as I feel like I have more control and can easily apply more pressure; I always do upward strokes, working the muscles in the direction that I want them to go. Don’t be put off by the shape of the Gua Sha, there probably is a correct way of holding it, however I suggest you find a way that feels most comfortable for sweeping the contours of your face. I like to use the ‘middle of the heart’ along my jawline and the inwards curve across my cheekbones.

Techniques to try;
Chin & mouth
Hold the Gua Sha between your thumb and forefinger, with the curved side upwards supporting your forefinger and the heart shape resting on your jawline. Beginning at the centre of your face, using gentle strokes work your way along the jawline, outwards towards the ear. You should be gently dragging the skin out and upwards, the product applied allowing the ease of movements.
Experts suggest repeating five times on each side of your face and then move up.
Cheeks
Holding the Gua Sha in the same way, place the bottom on the corner of your mouth, so the heart shape sits above and below the cheek bone. Using gentle strokes, work the tool from the side of your mouth upwards towards your ear.
Or if you prefer, use the rose quartz roller on the same part of your face, following the same line.
Move up to the upper part of your cheek, under the eye. Starting from the side of your nose, use upward strokes (using fingers/ gua sha/ roller).
Eye area
Using the smaller end of the roller, or the protruding part of the Gua Sha, gently roll under the eye from the inside of the nose towards the temples. Gentler strokes are recommended around this more delicate area.
Forehead
Frown lines – Using the Gua Sha, starting at the centre, use small strokes on the frown lines between your brows.
Using the roller, use short upward strokes on expression lines, starting at the inner brow and working up and out to the hairline.
Neck and décolletage – Using the long outward curve of the Gua Sha, start at the collar bone performing upward strokes up the neck and under the chin.
Smooth the lines on your décolletage using upwards strokes towards your collar bones from the top of your chest. Again, this is a great way to help your CULT51 Neck and Décolletage serum penetrate the layers of the skin. Repeat these movements on each side.
You will only see subtle changes to begin with, which will increase over time, much like any form of muscle movement or exercise. As you perform these techniques it is good to focus on what you are aiming to achieve, the more you think about the process, the better your technique will become.

For more information and videos visit www.cult51.com


